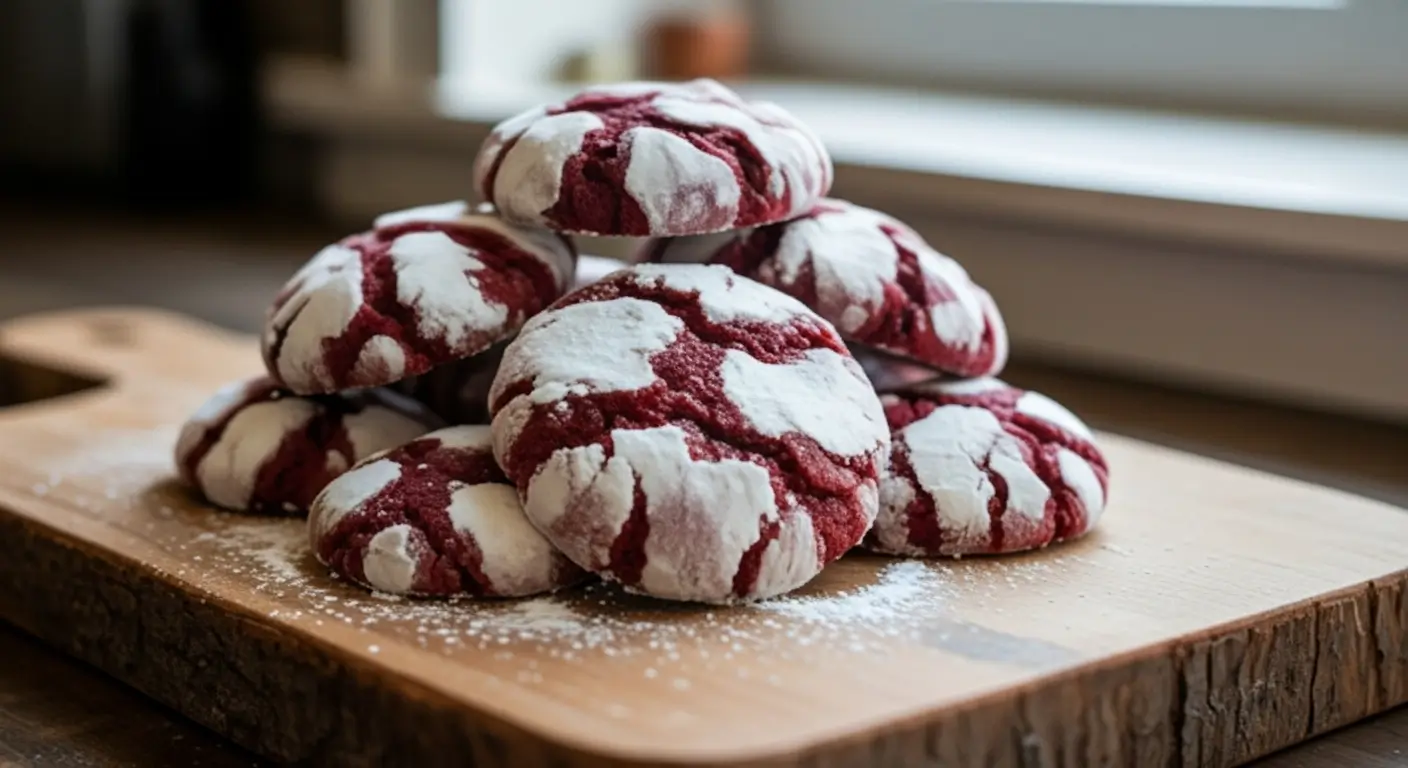
Red Velvet Crinkle Cookies
The Best Red Velvet Crinkle Cookies (That I Almost Ruined Three Times)
Okay, so I messed up red velvet crinkle cookies three times before finally getting them right. And honestly? I’m kinda embarrassed about it because they’re supposed to be simple. But here’s the thing – everyone keeps asking for this recipe, so I guess my disasters were worth it in the end.
Look, I’m gonna be honest with you. The first time I tried making red velvet crinkle cookies, I forgot the cocoa powder. Yeah, you read that right. They were basically pink sugar cookies that tasted like… well, nothing. My neighbor Sarah still brings it up whenever we talk about baking fails.
But let me tell you about attempt number two. This was back during the holidays last year when everyone was going crazy with cookie exchanges. I thought I’d be all fancy and make these gorgeous red velvet crinkle cookies from scratch. Except I used way too much food coloring (we’re talking vampire-level red here), and they stained everyone’s teeth. My 8-year-old looked like she’d been drinking cherry Kool-Aid for a week.
The third time? Complete disaster. I was rushing because my in-laws were coming over, and I completely burned the bottom of the first batch because – get this – I forgot to set a timer. The smoke alarm went off, the dog started barking, and my mother-in-law walked in right as I was frantically fanning smoke out the kitchen window.
So yeah, version 4.0 is what you’re getting today, and trust me, it’s worth all those previous kitchen disasters.
Table of Contents
What Makes These Red Velvet Crinkle Cookies Special
Now, here’s what I learned the hard way – fudgy red velvet cookies aren’t just about the color. There’s actually a science to getting that perfect crinkle pattern and that soft, almost cake-like texture that makes red velvet desserts so addictive.
The secret (and I’m probably gonna sound like every food blogger ever, but whatever) is the combination of cocoa powder and buttermilk. The acidity in the buttermilk reacts with the cocoa and creates this incredible tender crumb. Plus, it gives these cookies that slight tang that separates real red velvet from regular chocolate cookies with red food coloring.
I think… no, I know this works better when you don’t overmix the batter. Like, seriously. Mix just until everything comes together and then stop. Your arm might be tired (mine always is), but resist the urge to keep stirring.
And speaking of red food coloring – use the gel kind if you can find it. The liquid stuff makes the dough too wet, and then your cookies spread all weird. Trust me on this one.
Easy Red Velvet Crinkle Cookie Recipe Ingredients
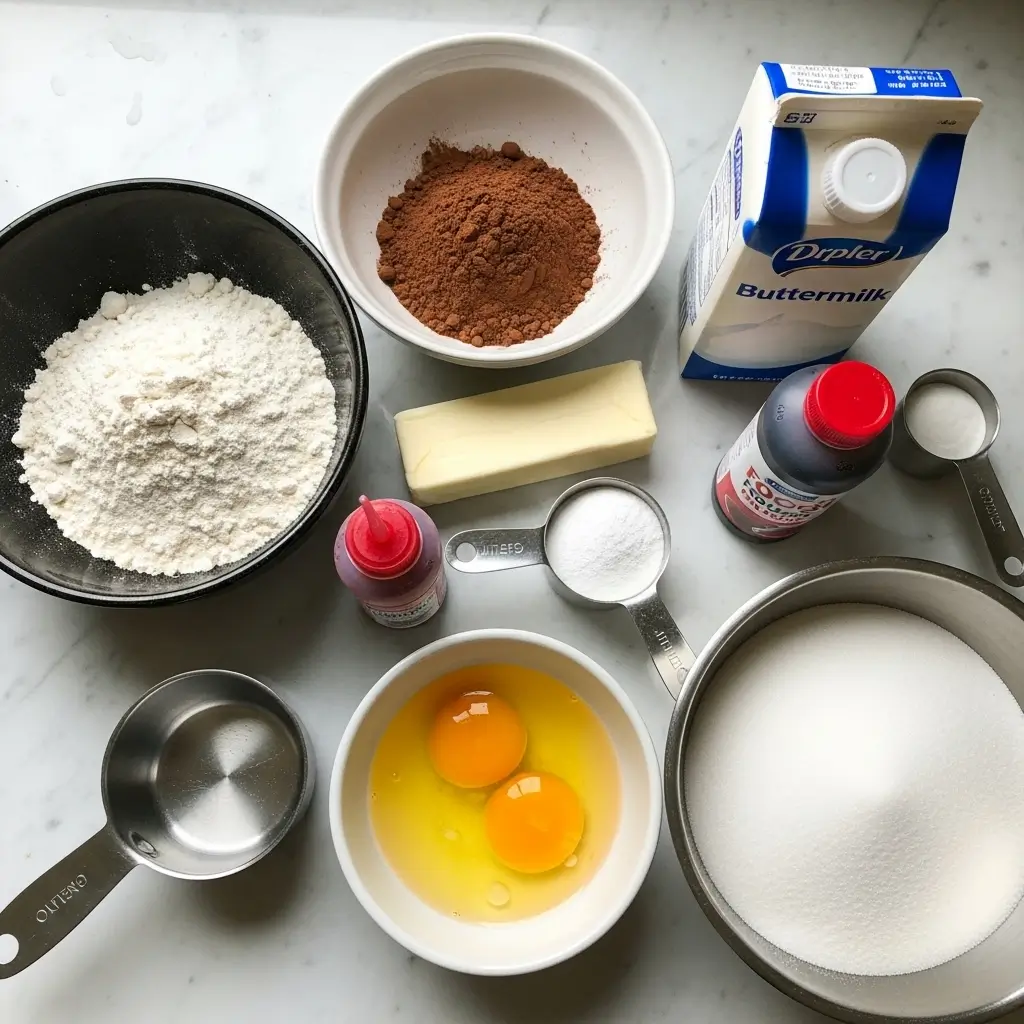
Here’s what you’ll need for this one bowl red velvet cookie recipe (because honestly, who has time for multiple bowls?):
For the cookies:
- 2 cups all-purpose flour
- 1/4 cup unsweetened cocoa powder (don’t skip this!)
- 1 teaspoon baking soda
- 1/2 teaspoon salt
- 1/2 cup unsalted butter, softened
- 1 cup granulated sugar
- 1 large egg
- 1/2 cup buttermilk
- 1 tablespoon red gel food coloring (seriously, get the gel kind)
- 1 teaspoon vanilla extract
For rolling:
- 1/2 cup powdered sugar
Quick shopping tip – good luck finding buttermilk that’s not close to expiring. I swear grocery stores hide the fresh stuff in the back. Also, if you can’t find gel food coloring, just use less of the liquid kind and maybe add an extra tablespoon of flour to compensate.
How to Make Red Velvet Crinkle Cookies From Scratch
Step 1: Prep Everything (Don’t Skip This)
Preheat your oven to 350°F. Line baking sheets with parchment paper. Set out a small bowl with powdered sugar for rolling later. Trust me, you’ll want this ready because the dough gets sticky fast
Step 2: Mix the Dry Stuff
In a medium bowl, whisk together flour, cocoa powder, baking soda, and salt. Make sure there are no cocoa lumps – I use a fine-mesh strainer for this because I’m paranoid about lumpy cookies now
Step 3: The Wet Ingredients (Where Magic Happens)
In a large bowl, cream the butter and sugar until fluffy. This takes about 3-4 minutes with an electric mixer. Add the egg and beat until combined. Then add buttermilk, food coloring, and vanilla. It’ll look weird at first – kinda lumpy and definitely very red – but that’s normal
Step 4: Combine Everything
Add the flour mixture to the wet ingredients and mix just until combined. The key is—oh wait, I forgot to mention—don’t overmix! The dough should be soft and slightly sticky
Step 5: Chill Time
Cover the bowl and refrigerate for at least 30 minutes. I learned this the hard way when my first batch spread into one giant red pancake. The dough needs to firm up, or your quick red velvet crinkles will be more like red velvet puddles
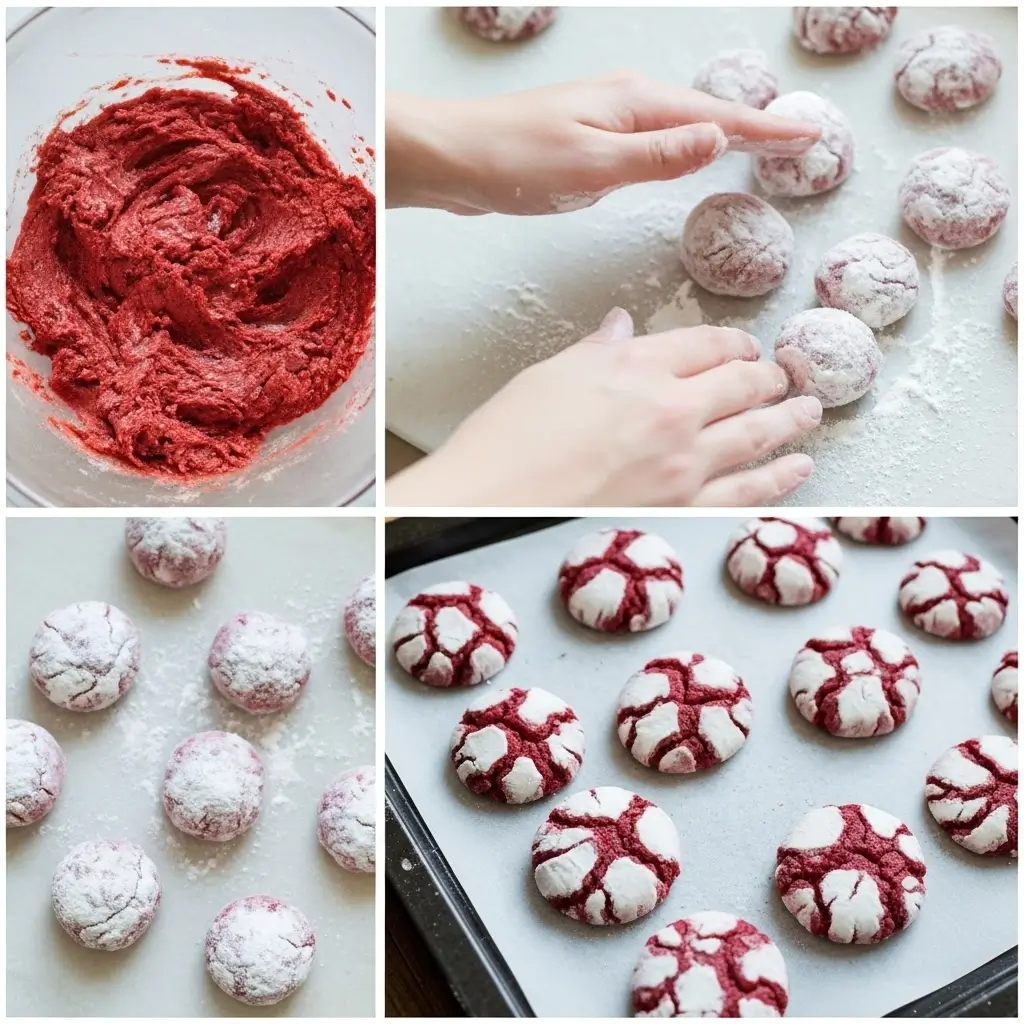
Step 6: Roll and Bake
Roll the dough into 1-inch balls (I use a small cookie scoop for this), then roll each ball in powdered sugar. Place them about 2 inches apart on the baking sheets
Bake for 10-12 minutes. Set timer for 10 minutes, then inevitably panic at 12 when you remember they’re in there. The cookies should be set around the edges but still soft in the center.
Step 7: Cool and Enjoy
Let them cool on the baking sheet for 5 minutes, then transfer to a wire rack. This is the hardest part because they smell amazing and you’ll want to eat them immediately
Make Ahead Red Velvet Cookies Tips
Actually, you know what? These are perfect make-ahead cookies. You can roll the dough into balls, freeze them on a baking sheet, then transfer to a freezer bag. They keep for up to 3 months, and you can bake them straight from frozen – just add an extra minute or two.
The baked cookies also freeze really well. I always make a double batch now because my kids’ friends have figured out where I hide the good snacks.
Why This No Mixer Red Velvet Crinkle Cookies Recipe Works
Okay, technically you can make these without a mixer, but your arm’s gonna hurt. I’ve done it when my mixer died right before a bake sale (because of course it did), and while it’s totally doable, I recommend borrowing a neighbor’s mixer if yours is broken.
The thing about this recipe is that it’s pretty forgiving. Too much flour? They’ll be a little cakey but still good. Not enough food coloring? They’ll be more brownish-red but still taste amazing. Forgot to chill the dough? (Been there.) They’ll spread more but still be delicious.
Troubleshooting Your Red Velvet Crinkle Cookies
If your cookies are spreading too much: Your dough is probably too warm. Chill it longer. Also, make sure your oven is actually preheated – I’ve been guilty of putting cookies in a cold oven because I was impatient.
If the crinkles aren’t showing up: You need more powdered sugar, and make sure you’re rolling the balls completely. Don’t just dust them – really roll them around in that sugar.
If they’re too cakey: You might have added too much flour or overmixed. Next time, measure your flour by spooning it into the cup and leveling off, not scooping directly with the measuring cup.
If they taste too sweet: Add a pinch more salt. Seriously, salt makes everything better, including cookies.
Final Thoughts on These Red Velvet Christmas Desserts
These red velvet crinkle cookies have become my go-to for cookie exchanges, potluck dinners, and basically any time I need to bring something that looks fancy but doesn’t require professional baking skills. People always ask for the recipe, which honestly makes me feel pretty good about my disaster-to-success ratio.
The best part? Kids love them (the red color is basically magic to anyone under 10), and adults appreciate that they’re not too sweet and have actual flavor beyond just sugar and butter.
Are they perfect? Nope. Will they probably turn your fingers slightly red while you’re rolling them? Absolutely. But are they worth making anyway? 100% yes.
Now I’m craving these again. Thanks a lot, brain. Happy baking, and may your smoke alarms stay quiet!
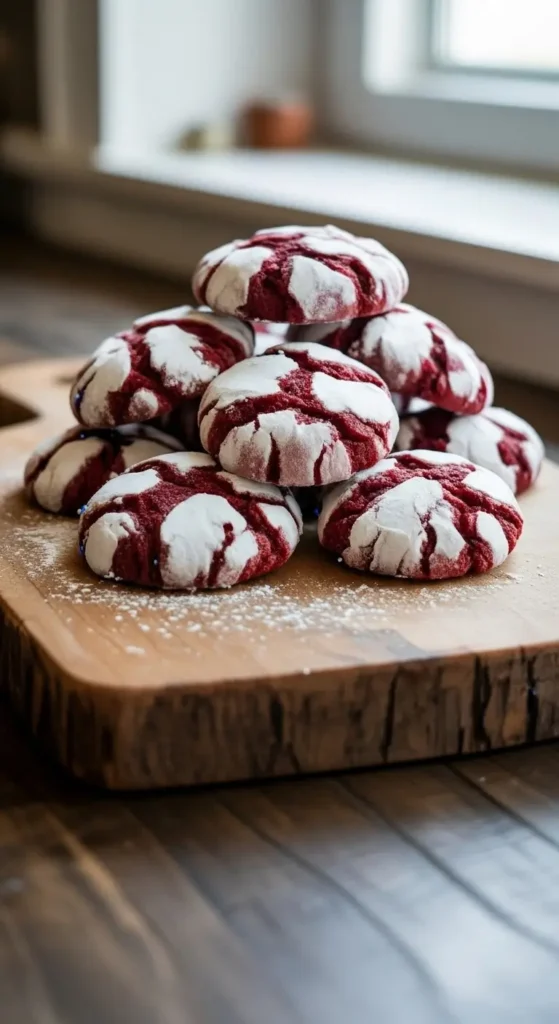
Red Velvet Crinkle Cookies
Easy red velvet crinkle cookies with perfect fudgy texture and beautiful white crackled tops. This simple one-bowl recipe creates soft, cake-like cookies with classic red velvet flavor that's perfect for holidays and cookie exchanges.
Ingredients
- 2 cups all-purpose flour
- 1/4 cup unsweetened cocoa powder
- 1 teaspoon baking soda
- 1/2 teaspoon salt
- 1/2 cup unsalted butter, softened
- 1 cup granulated sugar
- 1 large egg
- 1/2 cup buttermilk
- 1 tablespoon red gel food coloring
- 1 teaspoon vanilla extract
- 1/2 cup powdered sugar for rolling
Instructions
-
Step 1Preheat oven to 350°F. Line baking sheets with parchment paper. Set out powdered sugar in a small bowl for rolling.
-
Step 2In a medium bowl, whisk together flour, cocoa powder, baking soda, and salt until well combined.
-
Step 3In a large bowl, cream butter and granulated sugar until fluffy, about 3-4 minutes.
-
Step 4Add egg and beat until combined. Mix in buttermilk, red food coloring, and vanilla extract.
-
Step 5Add flour mixture to wet ingredients and mix just until combined. Do not overmix.
-
Step 6Cover bowl and refrigerate dough for at least 30 minutes until firm.
-
Step 7Roll chilled dough into 1-inch balls, then roll each ball completely in powdered sugar.
-
Step 8Place cookies 2 inches apart on prepared baking sheets. Bake for 10-12 minutes until set around edges but still soft in center.
-
Step 9Let cookies cool on baking sheet for 5 minutes, then transfer to wire rack to cool completely.